
Last Updated on: Jan 26, 2021
Proper cleaning is very important, but it’s something we don’t always think about when we go camping. When you are at home, you have a standard process for cleaning your cooking equipment, including dishes and cooktop. Cleaning when you are camping is a bit more challenging, but no less important. However, you’ll find a little preparation can make cleaning up your camping kitchen a breeze.
What We'll Cover
The Importance of Cleaning Up After Mealtime
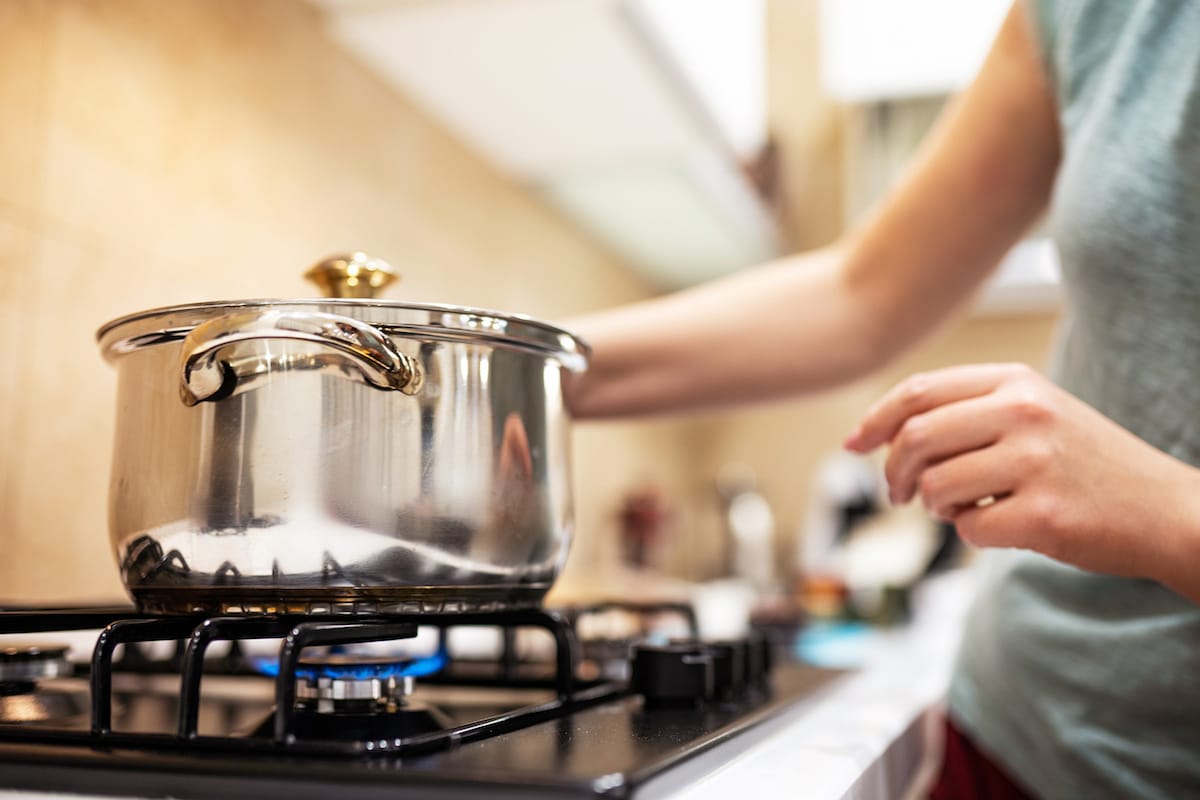
The reasons why proper clean up is important are basically the same at home or in the woods. The first is sanitation. Exposed food or residue can grow bacteria. The second is that the smell of food attracts animals and insects. This is more important when you are outdoors of course. Ants or mice are an inconvenience, but no one wants a bear stumbling into their camp because they smelled last nights meal that was prepared using your favorite camping cookbook.
Bacteria Prevention
Sanitation is crucial, particularly when handling raw meats. It’s very easy for bacteria like salmonella to be transferred from utensils or your workspace onto your hands or other foods. You do not want to deal with food poisoning at any time, but particularly when there is no bathroom in sight. Food left out (such as food particles left on a plate) can grow all sorts of nasty bacteria as well.
Animals are Attracted to Smells
Everything from ants to coyotes to bears is attracted by the smell of food, and many animals have a very keen sense of smell. For example, a black bears sense of smell is over 2,000 times more keen than humans, which means can smell last night’s hamburger from up to 26 miles away.
It’s important to dispose of any leftover food properly and clean your equipment so the smell doesn’t linger on it as well. Pests or predators can quickly ruin an otherwise enjoyable camping trip. Using a bear canister is also a good way to keep animals from catching a whiff if your food.
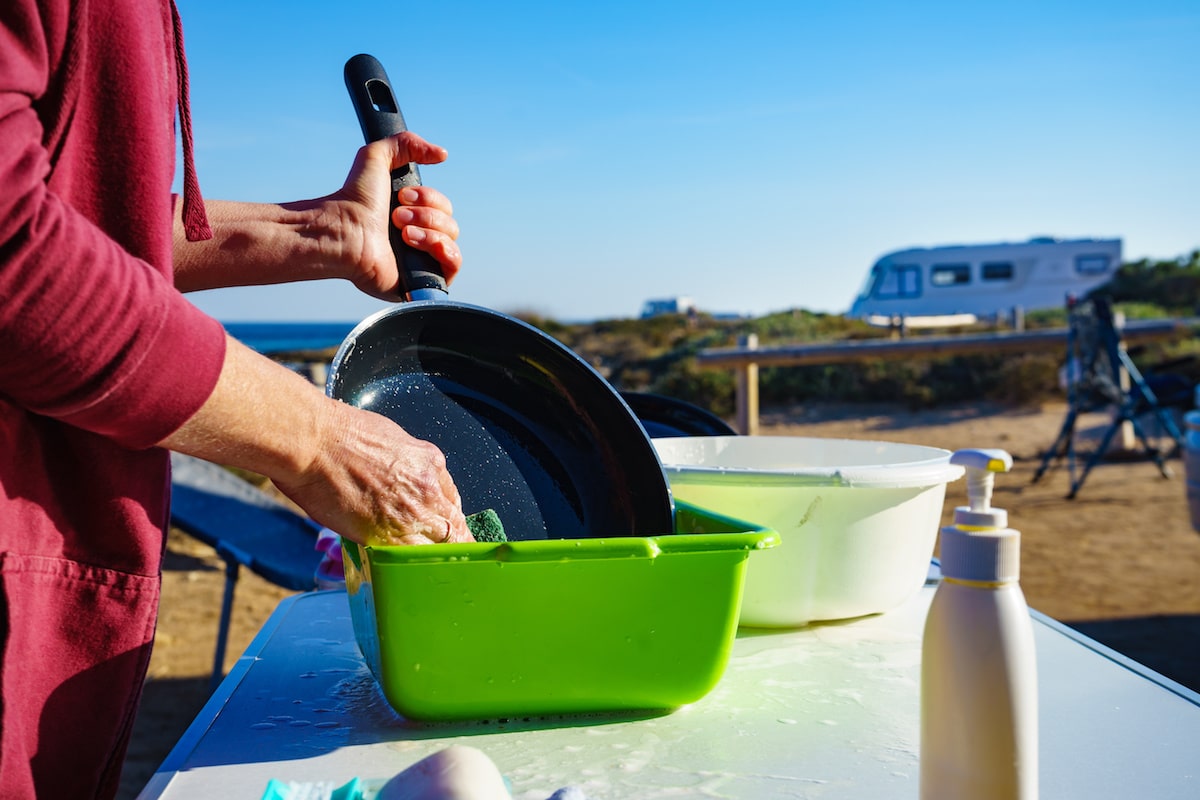
At home, you have a sink and running water. Washing dishes doesn’t require a lot of forethought. When you’re camping, you may have a camping sink, but more than likely, you’ll have to go without. I won’t lie to you and say that washing dishes will be the highlight of your camping experience, but with these methods, you can clean your dishes thoroughly with minimal fuss.
The Three Bucket Method
As the name suggests, the three-bucket method will require three buckets. This method ensures that your dishes are clean and germ free by including an extra step. Parents who are camping with kids can use this method as a way to get the kids involved in mealtime and give the little ones an easy job that they can be proud of. The supplies are also easy to store in a camping kitchen organizer.
Setup
This method requires:
- Three buckets
- Sanitizer
- Metal strainer
- Sponge or scrub brush
- Biodegradable soap
- Drying cloth or dish rack
The three buckets can be camping sinks, five-gallon buckets, or any other container that will hold enough water. You’ll need a metal strainer to remove food particles from your water. You may use bleach for your sanitizer, or a product like Steramine.
It’s recommended to boil water and then dilute it with cold water for each of the sinks. If the water is untreated, it is safer to boil some beforehand and let it cool, then add some boiling water to get it to a comfortably warm temperature for washing. Each sink should be filled 1/4 full of water for this method.
The first sink is your washing sink. You’ll fill it with warm water and then add a few drops of biodegradable soap, castille soap is a good choice. The second sink is your rinsing sink. Fill it with warm water only. Lastly, your third sink is your sanitization sink. You’ll add sanitizer to the warm water in this sink. The rule is generally 2 teaspoons of bleach per gallon of water. If you are using a sanitizer, follow the guidelines provided.
Cleaning Process
Before you begin to wash, scrape off any excess food. Be sure to put it in a bag so you can dispose of it properly. Do not under any circumstances toss food on the ground. Try to reduce waste and clean up time by cooking just enough for everyone and encouraging them to eat everything on their plate. You can remove food particles from the plate by scraping it with a utensil or using a napkin.
Then put it into the washing sink. Start with the cleanest dishes and work your way to the dirtiest. Scrub the dish.
Give it a gentle shake to remove some suds before you place it into the rinse sink. Once you’ve removed all the soap, inspect it to be sure that it’s completely clean before moving it to the sanitize sink. If it isn’t take it back to the wash sink and begin again.
Let it soak in the sanitize sink for at least 2 minutes before removing it. When you remove it from the sanitize sink, towel dry it or put it on a drying rack. Once you’ve finished with your dishes, do a quick scan to be sure that you haven’t missed any. Once you are sure that all the dishes are done, it’s time to dispose of your gray water.
The Two Bucket Method
The two bucket method is a very simple process that doesn’t require a lot of extra supplies. It is most similar to the method most people use at home. The setup is similar to the same one most people use at home.
Setup
For the one bucket method, you will need:
- Sponge or scrub brush
- Biodegradable soap
- Drying cloth or dish rack
- A pot to boil water
- Two buckets
You’ll need one bucket or sink of warm water with biodegradable soap added, and one with clean water to rinse. Again it’s important to boil the water beforehand if it comes from a natural water source. You’ll also need a drying rack or towel to dry them after you are done.
Cleaning Process
It’s a good idea to soak your dishes first, particularly if there is food stuck due to the cooking process. You can choose to do this by soaking the dishes in cool water before you do them, or you can let them soak for a few minutes in your wash bucket.
Scrape all food particles off the dishes before you put them into the wash bucket. Wash them until all food particles are removed, then place them in the rinse bucket. Once you’ve removed all the soap, dry them or place them on a drying rack.
The Wood Ash Soap Method
Perhaps you want to keep things as simple as possible. Perhaps you prefer to use the resources mother nature gives you. Perhaps you simply forgot the Castille soap when you were packing. The wood ash soap method uses the ashes from your cooking fire to clean your dishes.
Have you heard the term lye soap? Lye soap used to be what people used to clean everything, from themselves to dishes. Lye and some type of fat are required to make lye soap. You’ll find lye in wood ashes, particularly any type of hardwood (oak, maple, walnut, etc.). Fat is usually found on the dishes, but you can always add a few drops of grease or olive oil to the dish after cooking if required. These two basic ingredients come together to form a crude but effective version of lye soap.
Setup
For the Wood Ash Soap Method, you will need:
- Wood ash
- A bucket
- Drying cloth or dish rack
- Oil (optional)
You’ll need a fire that has burned down enough you can remove some ashes from it. You may also carefully remove a few coals and add them to some water to warm it up if you wish. Choose the greasiest pot you have. If you don’t have one that is very greasy, add a few drops of oil to the pot. Then pour in a few cups of wood ashes. Pour in enough water to make a coarse paste. Let it sit for a few minutes before moving on.
In the meantime, you’ll need at least one bucket of clean water for rinsing.
Cleaning Process
As the ash mixture sits, chemical reactions take place that transforms it into an effective cleanser. Take the wood ash and thoroughly scrub your dishes with it, including the pot that it’s in. Then rinse them in the water being sure to remove all the ash mixture. After they are properly rinsed they can be dried or placed on a drying rack.
Water Disposal
You’ll want to dispose of the water you’ve used to clean your dishes (called gray water) carefully. If it makes its way into the water, it can cause damage, and even biodegradable soaps will not break down.
If you are using multiple sinks, combine all the water into one sink. Then place the strainer over one of the empty sinks and pour the water back into it to remove any food particles.
Once this step is completed you may dispose of the gray water. If there are sinks or drainage facilities at the campsite, use these. If there aren’t, make sure you are at least 200 feet from any water source. Then fling the water out in an arc around you. This allows the water to go over a larger area so it is more easily broken down.
Cleaning Tips and Tricks
Over all the time I’ve spent camping, I’ve picked up a few tips and tricks regarding cleaning dishes.
Use Biodegradable Soap
Traditional dishwashing liquid is not good for the environment. Biodegradable soap is designed to biodegrade into the soil without damaging the local environment. When doing dishes or disposing of gray water, be sure that you are 200 feet from any water source to avoid contaminating it.
Use Purified Water
Be sure that you are using purified water to clean your dishes. If the water comes from a natural source like a lake or spring, it is important to boil it to kill any potential bacteria just as you would for drinking. You can also use water purification tablets, water purifiers, water filters, or anything else you may have that can purify your water.
Use Olive Oil While Cooking
Adding olive or other cooking oil during cooking can actually make cleanup easier. It helps to prevent food from sticking and it makes the wood ash soap more effective.
Eat Cold Food to Avoid Dishes
You should consider avoiding dishes when possible. Many things can be eaten cold and don’t require plates and camping cooking utensils. When you are camping, feel free to place practicality over manners.
How to Clean Your Camping Stove
If you want to keep your camping stove in good working order, cleaning it is just as important as cleaning your dishes. Most of the time, simply wiping the stove down with your Castile soap and a wet cloth will be enough. However, more serious messes will require a deeper clean. If you have a gas stove, be sure that the gas supply is disconnected.
Remove the burners and rings so you can wipe down the hard to reach areas of your stove. For stuck-on food, use the wood ash soap and let it sit for a few minutes before rinsing it off. It’s wise to keep a toothpick or small needle in case of clogged jets. Once you’ve cleaned the stove and removed all the debris, rinse it with water and dry it with a towel before reassembling it. The best way to clean a stove will vary depending on what type of camping stove it is.
Conclusion
Decide which method you will use to clean your kitchen equipment and portable camping kitchen. Gather all the items you’ll need and be sure to bring them with you. Then you can see just how easy cleaning can be with a little forethought and planning. It is not the most exciting thing, but it does keep the bears away.
The responses below are not provided, commissioned, reviewed, approved, or otherwise endorsed by any financial entity or advertiser. It is not the advertiser’s responsibility to ensure all posts and/or questions are answered.