
Last Updated on: Jan 22, 2021
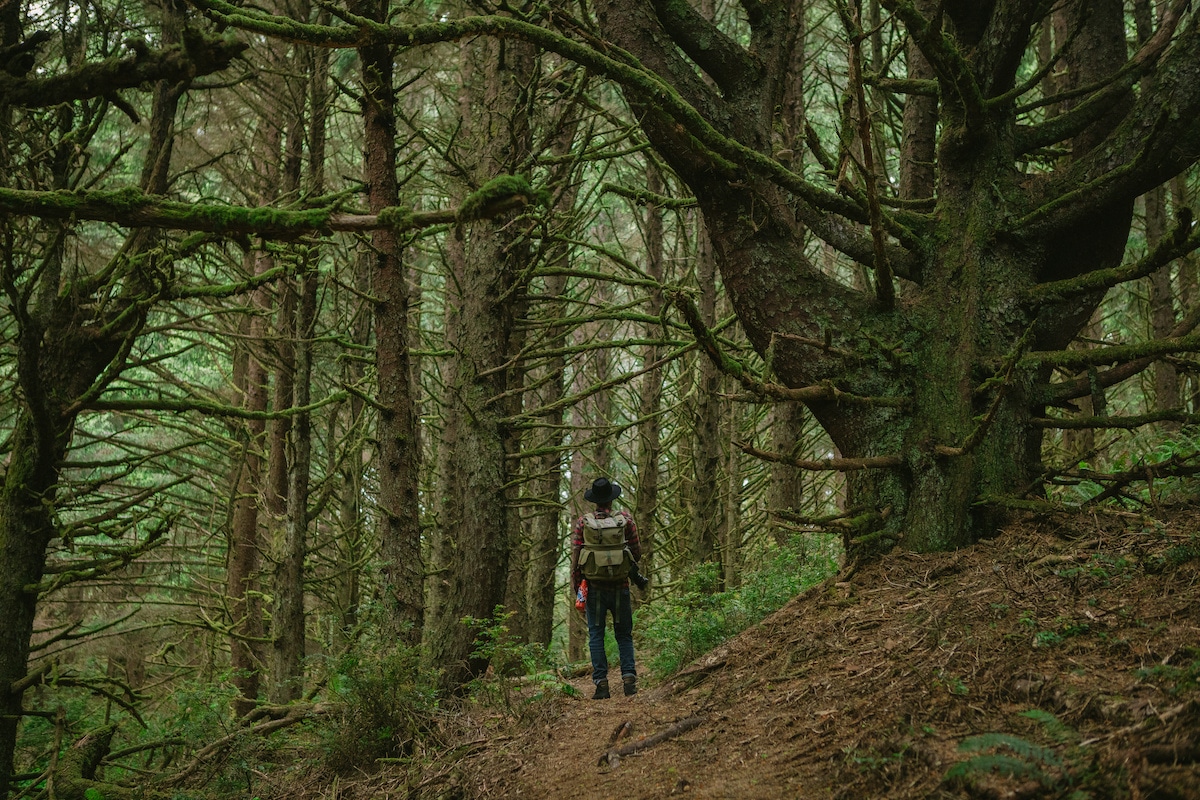
In recent years, there has been a movement for more hunters to process their game meat themselves. My family has always made a point of processing game meat ourselves instead of taking it to a commercial processor. There are several benefits to this such as saving money and being able to customize the cuts of meat to your preferences. Processing your meat yourself is as easy as taking care of your bow, especially with the step by step instructions I’ve laid out for you in this guide. Read to learn more about processing game meat yourself.
What We'll Cover
- What Is Game Processing?
- Different Cuts Of Meat
- Animal Processing Principles
- Cool the Meat As Quickly As Possible
- Keep The Meat Clean and Dry
- Avoid Puncturing the Stomach and Intestines
- Maintain Muscle Groups When Cutting
- Tools You Need for Game Processing
- How To Break Down Four-Legged Animals
- Aging Wild Game Meat
- Conclusion
What Is Game Processing?
Game processing refers to butchering an animal that was hunted. To put it simply, processing an animal is taking a carcass and turning it into separate cuts of meat. Making the most of the animal and customizing the different cuts of meat to suit your personal preferences are also important components of game processing.
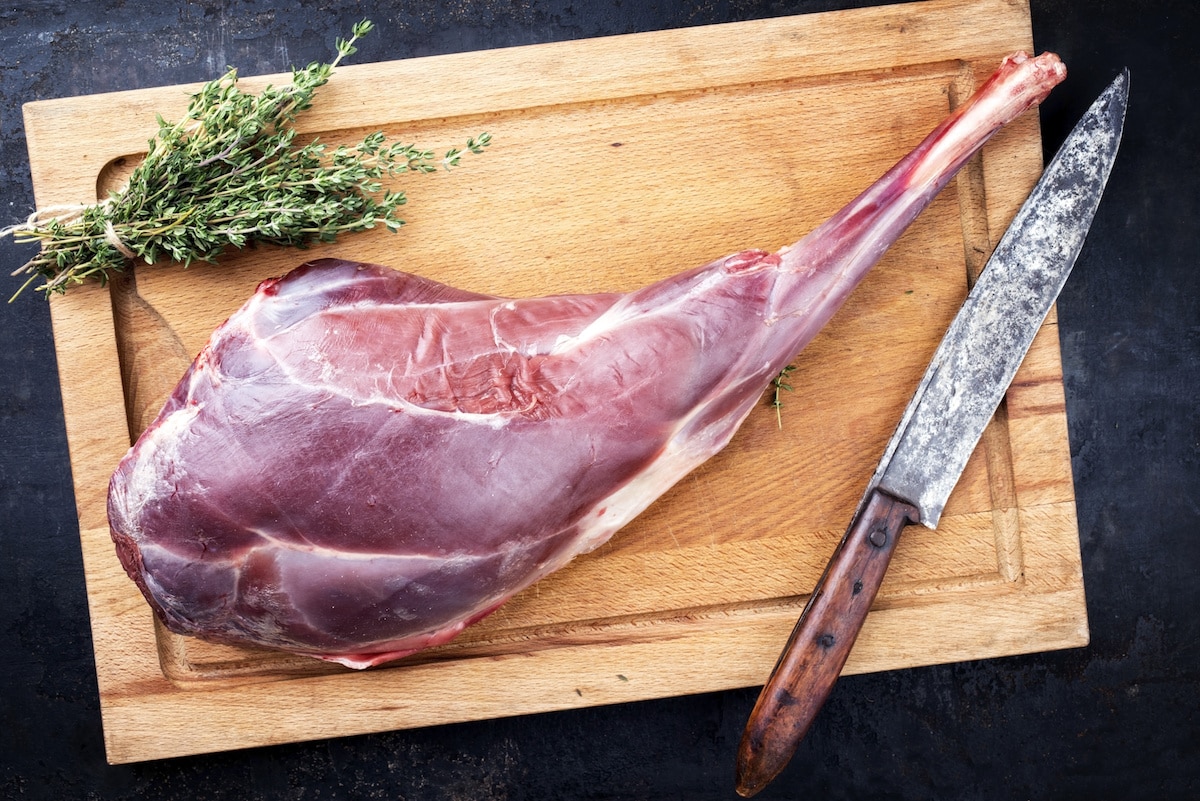
Different Cuts Of Meat
Just like a cow, pig, or any other animal we eat, your game is going to have different cuts that you need to be able to identify. The different cuts can be better for different styles of cooking, so you need to know how to prepare them properly.
Rump
If you’ve never processed an animal before, the rump is one of the easiest places to start. When you take a look at the animal’s rump, you will see that the meat is already divided up into several different muscle groups. All you really have to do is cut the connective tissue between the muscle groups and isolate the pieces of meat this way. You’ll end up with the sirloin, which is my personal favorite part of the animal, as well as the top round and the bottom round. All three of these pieces of meat can be cut up into steaks as you see fit. Personally, I only cut the sirloin into steaks. I like to turn the top round and bottom round into roasts.
Shanks
Processing the meat from the legs of the animal is also quite easy. However, leg meat has a tendency to be tough and stringy, so it’s often ground up for use in hamburger patties. Most people like to do this with the meat below the knee of the animal. You can also simply cut the shanks into three pieces to create bone-in roasts for the crockpot as if it were lamb.
Loins
The most prized pieces of meat come from the loins, outside the hindquarters. Perhaps the most desirable cut on the animal is the backstrap: the cut runs along each side of the spine from the hip all the way up to the neck. Remove and trim this piece first when you’re doing the loins. Many people like to cut it into smaller sections for easier storage unless they’re planning to eat it right away. The tenderloins are also in this area of the animal. You should try to eat the tenderloin quickly because freezing it can cause it to dry out.
Neck
The neck tends to be one of the tougher pieces of meat on the animal, and it isn’t good for making steaks. There are two main routes you can go with the neck meat: turn it into ground meat or a pot roast. All you have to do for a roast is trim it away from the spine and then cook it whole.
Ribs
The ribs include some very tasty meat, but the rib meat should not be trimmed from the bone. Instead, the ribs should be sawed from the spine and slow-cooked whole like babyback ribs.
Flank
This cut of meat comes from the lower part of the belly. Some people like to grind up meat from this area, but flank meat is quite tender and tasty. It is more common to cut flank meat into steaks of your preferred size.
Shoulder
The shoulder is usually ground up into burger. Sometimes, especially when we process a hog, we will keep the shoulder whole. We simply slow-cook the shoulder as a savory roast.
Brisket
The brisket is basically the chest muscles that are left over after taking out the shoulder. This cut is often considered to be scrap meat, but you can smoke it and slow cook it for extremely tender meat.
Animal Processing Principles
If you want your meat to remain fresh and edible, you need to adhere closely to processing principles. These help ensure that you get the most out of your meat.
Cool the Meat As Quickly As Possible
One of the most important principles when it comes to processing game meat is to cool the meat as quickly as possible, but this can be difficult if you kill an animal way out in the woods on a hot day. One of the best ways to ensure that the meat cools as quickly as possible is to field dress it immediately. This involves cutting out all of the organs, which will help the meat cool as quickly as possible. When it cools quickly, you will lose less of it to spoilage.
Keep The Meat Clean and Dry
Even after you’ve cleaned the animal in the field, you might find when it comes time to process the meat that there is still some debris and dirt on it. You want to make sure at this stage you clean off all the debris and dirt to keep it from getting into your food. All you need to do for this step is carefully rinse off your meat and inspect it to make sure there isn’t any debris or dirt on it. Don’t let the meat sit when it’s wet. Only rinse off the meat when you are about to cut it up, as wet meat is more prone to contamination.
Avoid Puncturing the Stomach and Intestines
Another important principle of processing game is not puncturing the stomach or intestines. If you puncture the stomach when you are cleaning the animal, then half-digested food will spill all over the meat. Puncturing the intestines is even worse. If you accidentally puncture the intestines when cleaning the animal, then feces will spill over some of the meat you want to save. You may be able to save the meat if you puncture the stomach, as long as you immediately clean it off. However, you need to immediately throw away any of the meat that gets contaminated if you puncture the intestines.
Maintain Muscle Groups When Cutting
Processing game meat will be much easier if you maintain muscle groups when cutting everything up, which requires identifying the chunks of solid muscle on the carcass. These muscle groups will be separated from other muscle groups by bone or connective tissue. When processing the meat into various different cuts, all you have to do is cut the connective tissue and turn the muscles into steaks or roast them whole.
Tools You Need for Game Processing
- Knives: You should have a fillet knife for delicate cuts and for trimming the meat. You are also going to want a large knife with a thick blade when cutting steaks. A camping knife set may be useful if you plan on processing your meat in the field.
- A Bone Saw: It is very important that you get a specially designed bone saw for cutting apart the bones. Saws designed for other purposes, such as hacksaws, will not be as effective.
- Game Bags: These bags allow you to seperate different cuts of meat and burger once you’ve ground some meat up. The bags will protect the meat from insects as well as keeping the juices from leaking.
- Materials to Hang an Animal: My family and I have a section of our garage partitioned off so that we can hang a meat hook whenever we are processing a large animal like a deer.
- Gloves: You can get gloves specially designed for butchering game, but I usually use latex gloves to keep blood from building up on my hands.
- Coolers: I’d recommend using coolers designed for game meat. Normal camping coolers aren’t effective enough at cooling the meat, and many simply cannot handle the weight of a large animal.
- Citric Acid: This can be found in powder or liquid form at every grocery store. Citric acid deters flies and other insects while also repelling bacteria.
How To Break Down Four-Legged Animals
Most of the game you’ll be hunting will have four legs. Four-legged animals need to be processed differently than birds.
Rabbits and Hares
Process rabbits and hares by cutting off each leg. Next, cut the back straps, which are long strips of muscle along each side of the spine. The legs and the backstraps are all most people keep from a rabbit or hare.
Squirrels
Cut off the legs and the backstraps, just like you would with a rabbit. Most people use the remaining belly flaps and torso as stock for stew instead of eating the meat separately.
Deer, Sheep, Elk, and Antelope
As with all large animals, you should cut up a deer or sheep according to the muscle groups. The shanks and neck should be ground up into burger. The flank meat from along the lower part of the belly can be cut into steaks. The loins from along the backbone can be cut into steaks by following the muscle groups. The hindquarters are usually cut into the sirloin, top round, and bottom round because there are three main muscle groups in the hindquarters. The ribs should be sawed away from the spine and slow-cooked. Deer shoulders are tough and stringy, so you should turn them into roasts.
Bear
Breaking down a bear carcass is surprisingly straightforward. In fact, bears are processed much like hogs. First, cut off the front legs where the shoulder muscles connect to the torso, and then cut off the tenderloins, which are the twin cylinders of muscle on the underside of the rib cage. Next, cut off the hind legs. Split the legs in half at the knee. The bottom half, the shank, is good for grinding up into burger. Cut the neck off the torso. Neck meat is tough and also good for grinding up into burger. Cut away the thin pieces of meat on the belly for bacon.
Saw the ribs into steaks or roasts based on your preferences. Cut up the chest muscles (the brisket) by separating various muscle groups. The shoulders consist of an upper and lower muscle group, but this meat is stringy and best for stew meat. The front part of the loins (muscles connected to the back bone) are good for either steaks or roasts, and the back part of the loins is known as the sirloin and should certainly be used for steaks. The rump and round, which are the hindquarters, should be cut according to the different muscle groups. These cuts are too tough for steaks and are best for roasts.
Aging Wild Game Meat
Many people like to age game meat to make it more tender, and this is especially common for deer meat, also called venison. The meat should be hung in a fridge at about 35 degrees. Most people like to age the meat for around a week, sometimes a little more if the meat is very tough. Game meat should normally be dry-aged to limit bacterial growth, but wet aging is easier because you don’t need a meat fridge. All you need is a cooler and a bunch of ice, but there is a much higher chance of significant bacterial growth.
Conclusion
Now that you have the experience of processing meat from an animal you’ve hunted—whether with a hunting bow or a rifle, it should be much easier to do it in the future. Keep in mind that the steps in this article are based on my own experience. You’ll likely learn your set of tips and tricks as you gain experience in processing game meat.
The responses below are not provided, commissioned, reviewed, approved, or otherwise endorsed by any financial entity or advertiser. It is not the advertiser’s responsibility to ensure all posts and/or questions are answered.

![Best Archery Sets This 2023 [Men & Women]](/assets/images/8cf78150f1d9d7a0c175609145d21517.png)